Night Photography: Tips for better Photos in the Dark
Impressive photos for exceptional nights
At dusk and at night, particularly impressive pictures are produced. Through the play of lights in the city, through the contrasts between light and dark, a special tension is created and later leads the viewer of the photo to take a closer look. But how do such photos come about? Because on the other hand night shots are merciless. If you don’t know how to expose correctly, you will be frustrated alot of times.
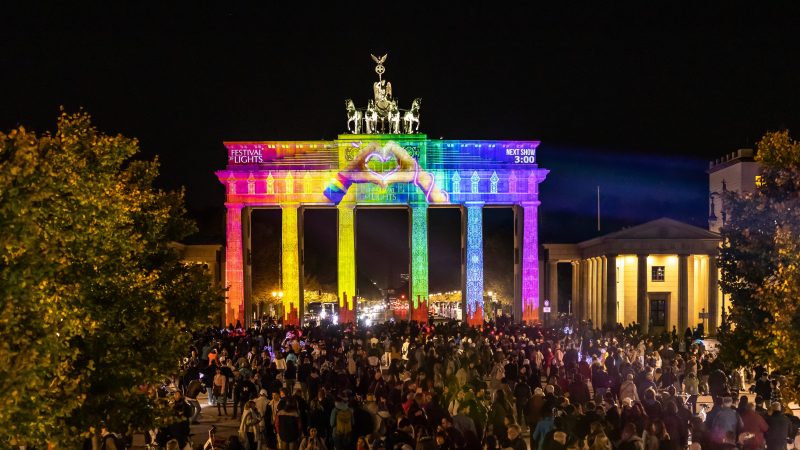
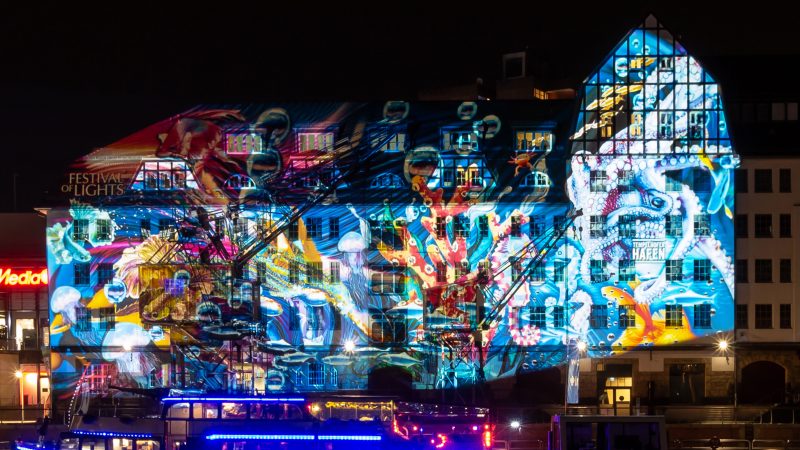
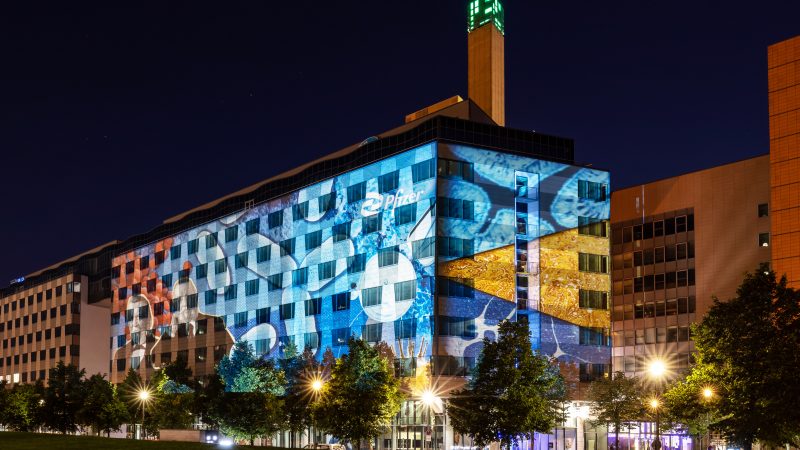
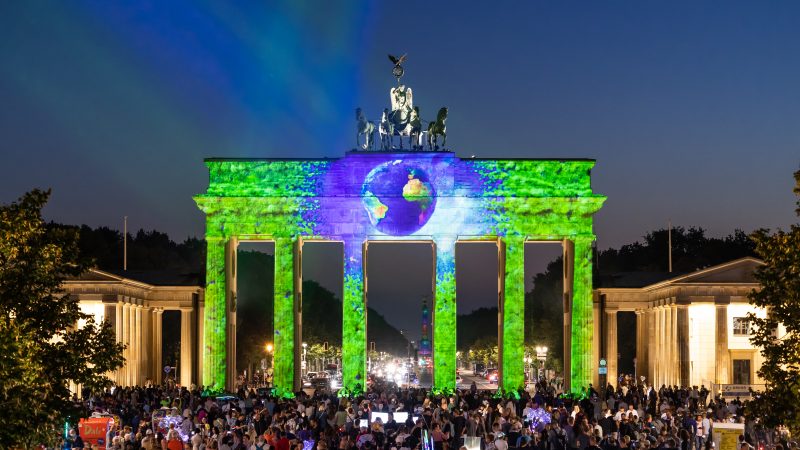
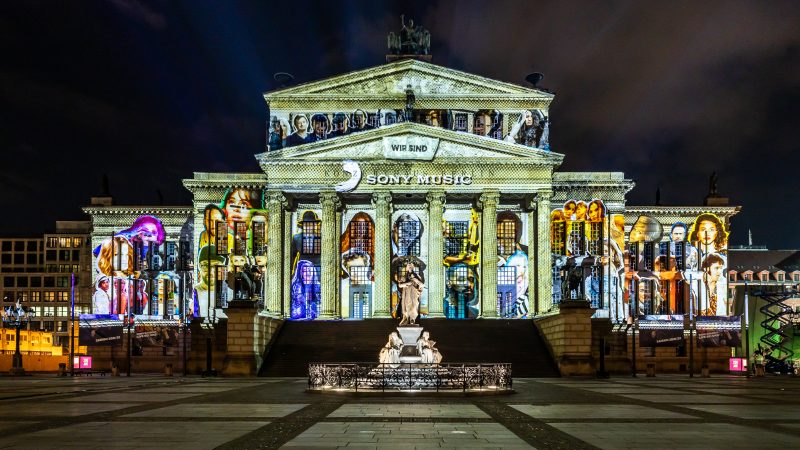
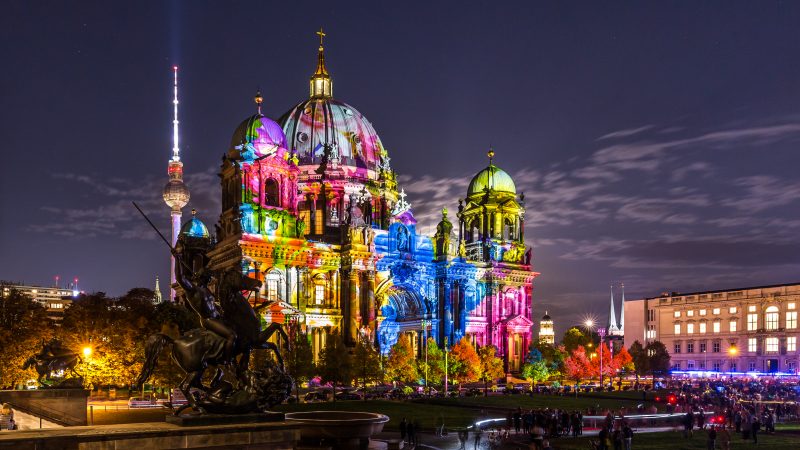
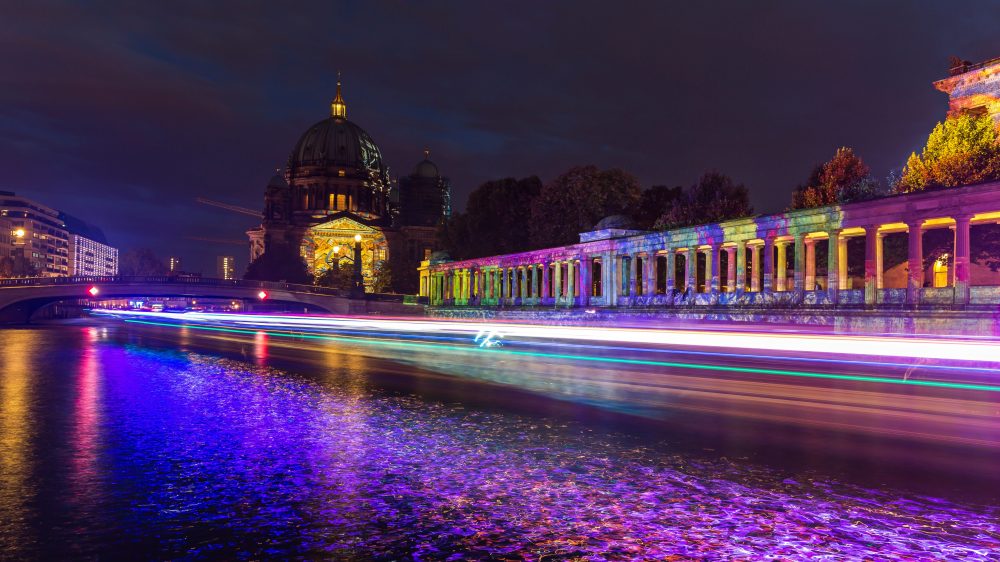
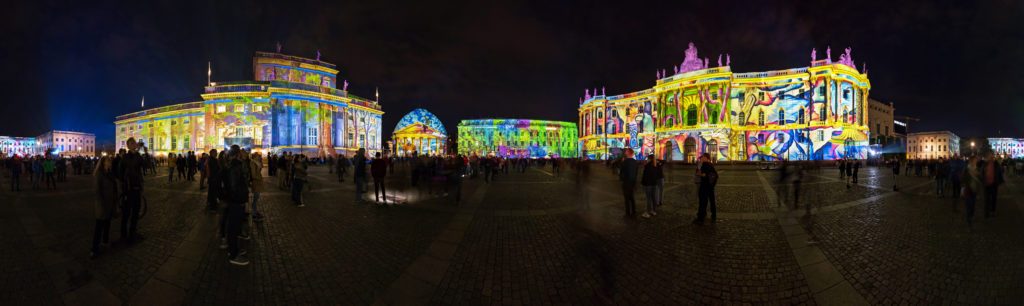
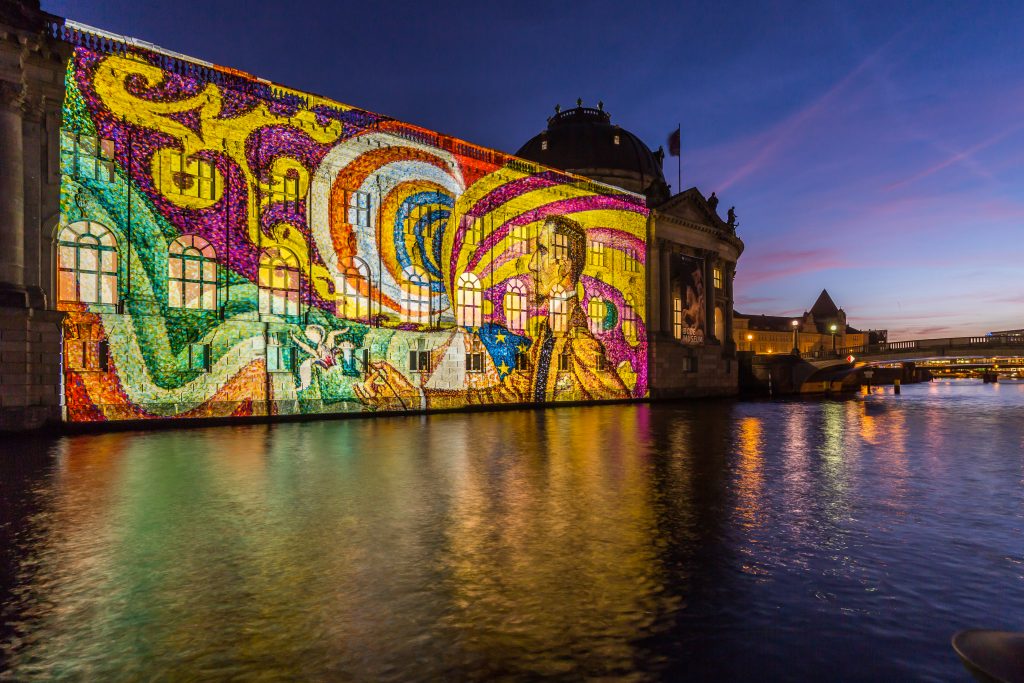
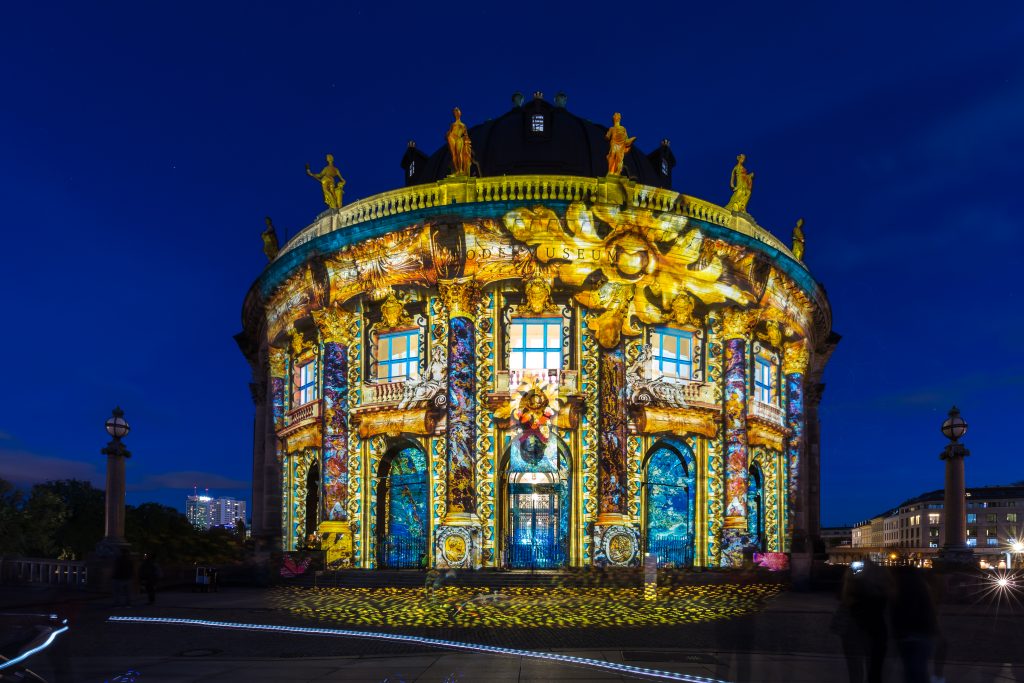
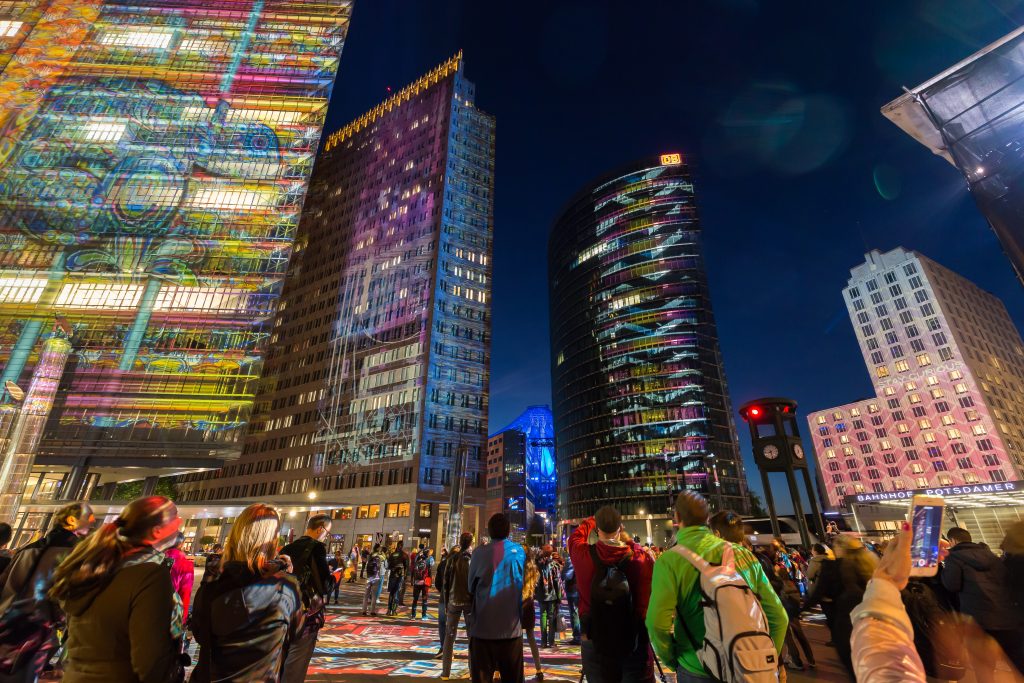
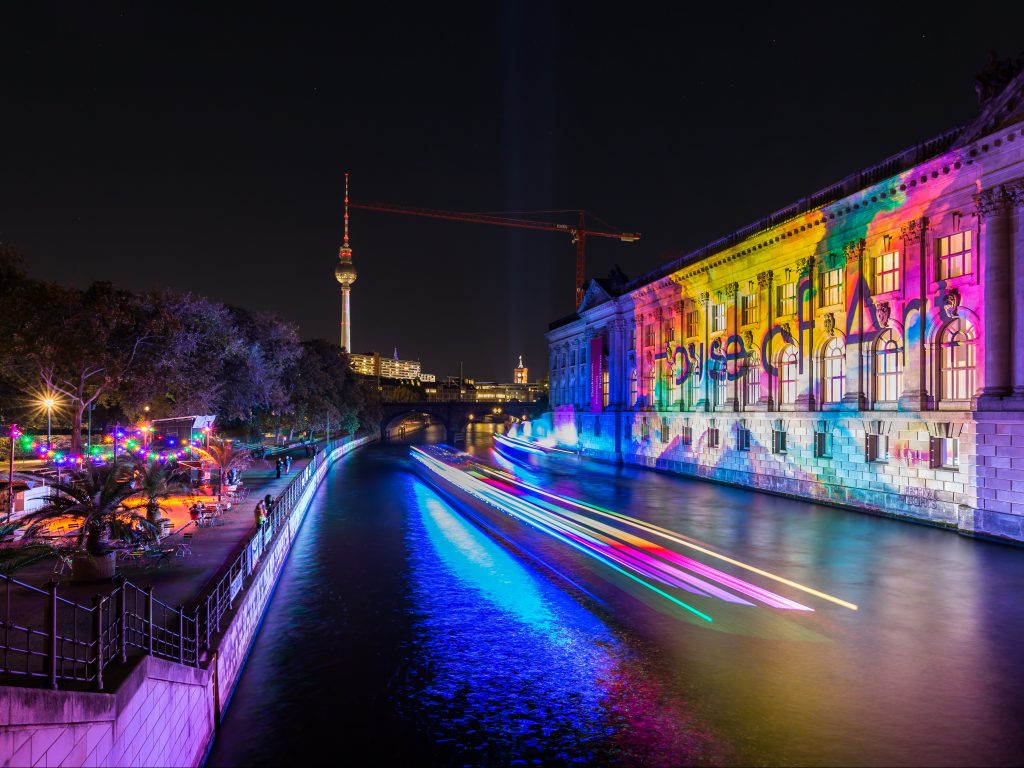
At the FESTIVAL OF LIGHTS, the city of Berlin shines in an unusual light every October. Then the most beautiful landmarks, buildings and squares are artfully illuminated – with light projections and 3D video-mapping, and each illumination contains countless great photo motifs.
How you as a hobby photographer can capture the illuminations impressively, we explain to you here. No matter if reflex camera, compact camera or smartphone, with the following 6 tips you will definitely succeed with night photography.
1. Use the Blue Hour
The best pictures at night are taken in the Blue Hour. This is the time shortly after sunset, when the sun has already disappeared, but the night sky is not yet completely black, but rather immersed in a rich dark blue. For night photographers the blue hour is very attractive, because the contrasts in the picture are intensified and a special atmosphere is created.
Depending on the geographical location, the blue hour lasts from 30 minutes to 2 hours. In the city it starts from the moment when the reflection of the sky can no longer be seen in an illuminated window. Because in this moment it is just as bright inside as outside.
The Blue Hour begins. Now the daylight is so weak that exposure times of 1 to 2 seconds are possible. However, always pay attention to the white balance so that the photos do not become too bluish.
For your perfect night photos you should start your photographic sightseeing tour through the city before sunset, so that you can stand in position with your camera right after the sun has gone down and shoot off.
2. Use a tripod
If you want to photograph at night, a fixation of the camera is indispensable. Snapshots by hand are rarely successful. Usually the pictures are blurred, because people only manage to hold their hand still for about 1 second. For good night shots, however, a much longer exposure time is required.
Therefore use a tripod – or place the camera on a wall projection. Be creative, you don’t necessarily need expensive equipment. Also turn off the camera and lens stabilizers.
3. Use the self-timer
Have you fixed your camera or smartphone firmly on a tripod or other surface? Great! Now don’t press the shutter button. Even if you press it as carefully as possible, this small touch can cause a blurred photo. Better use the camera’s self-timer, which releases the photo after a few seconds.
4. Long exposure times and the correct camera setting
Long exposure times are the most important success factor for your night shots at the FESTIVAL OF LIGHTS:
- Automatic off: You should not rely on the automatic of the camera for night photos. It will always try to give your photos a daylight character.
- Manual focus on: Many cameras cannot focus well in the dark. Therefore switch manual focus on.
- Switch off ISO automatic: Set the smallest value: ISO 100 or 200 to prevent the image from being artificially brightened. You will get a clear black and have no annoying image noise.
- The aperture: In darkness you can choose an aperture between f10 and f13. If – as with the FESTIVAL OF LIGHTS – you want to photograph a building with lots of light, overexposure may occur. Then simply correct the exposure accordingly.
- Do not use flash: Turn the flash off for beautiful shots at night.
- White balance and RAW format: White balance is often difficult in the dark. Most images have a blue or red tint. Therefore, save your photos in RAW format. Then you can edit the image later and correct the white balance loss-free.
- Use rather smaller focal lengths and abstain from telephoto lenses: Zooming happens at the expense of image quality.
5. Night photography with the smartphone: the best apps
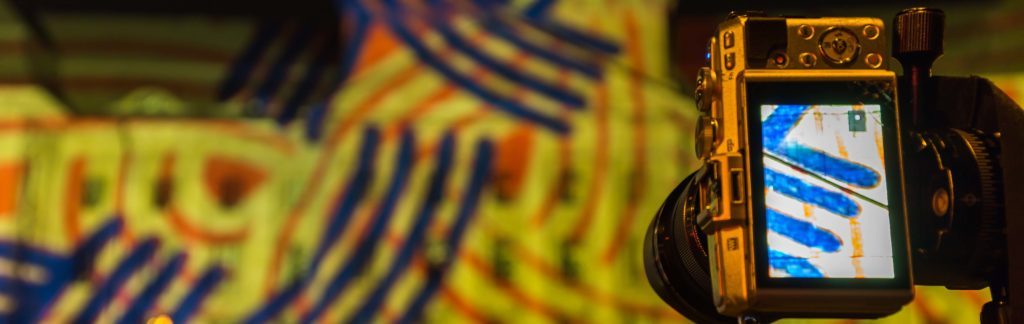
If you want to capture your memories of the illuminated Berlin during the FESTIVAL OF LIGHTS with your smartphone, special night photography apps for iPhone and Android devices are recommended. They help to reproduce the subject lifelike and allow you to adjust aperture, exposure time and ISO manually (which is otherwise not possible with many smartphone cameras).
One thing is clear: the better the camera on your smartphone, the better your night shots will be. A reasonable megapixel size and good signal processing are a must if you want to take expressive photos.
The best night scene apps for iPhone:
- ProCamera allows manual adjustment of exposure time and ISO and reduces image noise.
- Slow Shutter Cam allows exposure times of up to 15 seconds and thus also night shots with light stripes of passing cars etc. The ISO value can be changed.
- Night Camera provides wonderful night shots and low light shots thanks to manual ISO, focus and iris settings and many other useful additional functions.
The best Android apps for night photos:
- Camera MX is one of the most widely used camera apps. It optimizes your photos and saves night shots with high contrast. Convinces with self-timer, focus, exposure and alignment aid.
- Camera ZOOM FX Premium has an incredible number of features that make photography even more beautiful. And of course everything you need for night shots: Timer, RAW mode, manual control of ISO, aperture and focus, etc.
6. Tips for those who like to experiment: Lightpainting & Lightwriting
If you want to become a light artist yourself at the Lightart festival, you can try your hand at “Lightwriting” (writing light) and “Lightpainting” (painting light).
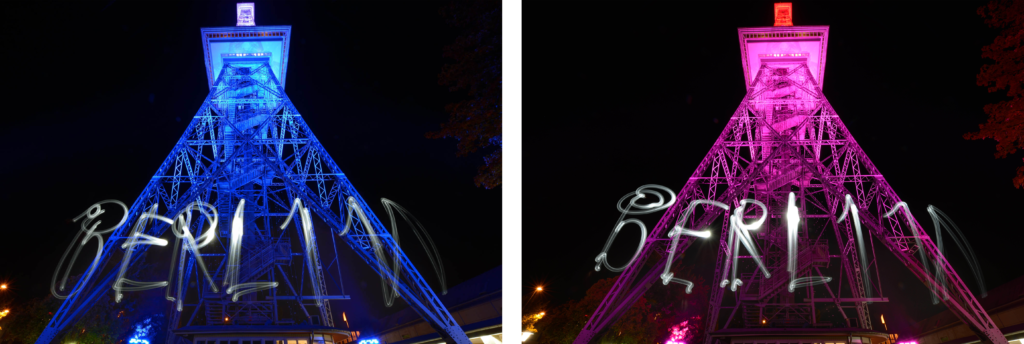
To write or paint your message in the night sky with light, you do not need much more than a camera, a tripod and a flashlight – or any light source you have at hand.
Writing with light: “Lightwriting” on photos
The first thing to do is to set the long exposure of the camera or smartphone to e.g. 30 seconds. Then you can use a 10 second self-timer, which you press to position yourself about 4 to 5 meters in front of the camera. When the camera releases, you have 30 seconds to write a glowing message in the air. And behold, you have already created your own light artwork.
Painting with light: “Lightpainting” on photos
When painting with light, also known as light painting or LAPP (light art performance photography), you draw spectacular patterns and colours into the picture during a long exposure.
For example, a medium-size building is suitable as a motif, whose outlines or prominent points are traced or accentuated with light.
As with “Lightwriting”, you have to experiment a little and approach the result slowly. But it’s worth it. You’ll be amazed at the beautiful and unique photos you can conjure up with it.
Camera settings and utensils for Lightwriting & Lightpainting
- Place the camera on a tripod or a solid surface.
- Switch off the flash.
- Expose manually: Aperture guide 8; Time: 30 seconds; Sensitivity: 100 to 200.
- Focus manually to approx. 4 or 5 metres.
- When choosing the light sources you can let your imagination run wild: Colourful bending lights, LED lights, torches, flashlights or even a glowing mobile phone make you a light painter.
We wish you a lot of fun taking pictures at night! Hey, and don’t forget to share your best photos with us on Facebook or Instagram.
Picture 1: Enrico Verworner | Picture 2: Frank Herrmann | Picture 3: Frank Herrmann | Picture 4: Frank Herrmann | Picture 5: Frank Herrmann | Picture 6: Frank Herrmann | Picture 7: Frank Herrmann | Picture 8: Frank Lehmann | Picture 9: Frank Lehmann | Picture 10: Frank Herrmann